Introduction
Quite recently, I have had to investigate constructing some robust outdoor sensor nodes in order to perform some hobbyist research on EdgeAI Device Classification and Radio Frequency Fingerprint Identification (RFFI), using DNNs. Initially, I bought some commercial off-the-shelf (COTS) outdoor IP6 waterproof junction boxes off the Internet, but they turned out to be inadequately small. Although they measured about 132mm x 70mm x 50 mm, I couldn't fit a CC1310 Launchpad into them, due to the junction boxes' inner lip, being about 10mm thick.
Some hobbyists have resulted to 3D printing enclosures, using PETG or ASA; 3D printing elements that are insensitive to changing temperatures and Ultra violet (UV) light. However I didn't want to go down this route, due to today's energy prices in Europe, which are extremely high to say the least.
Another option mentioned by Andreas Spiess, the "Swiss YouTuber with the German accent" was to consider converting lunchboxes purchased from Ikea or similar retail outlets. This prompted me to purchase a number of said boxes from Ikea and convert them into an outdoor enclosure for sub-1 GHz sensor nodes, which is the topic of this article.
Construction
 |
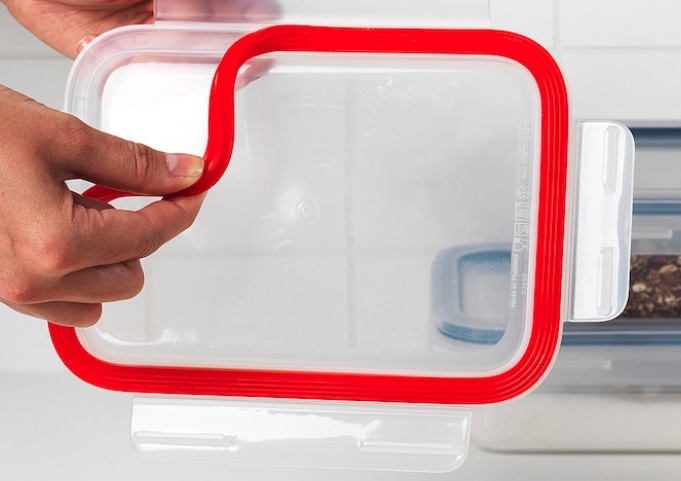 |
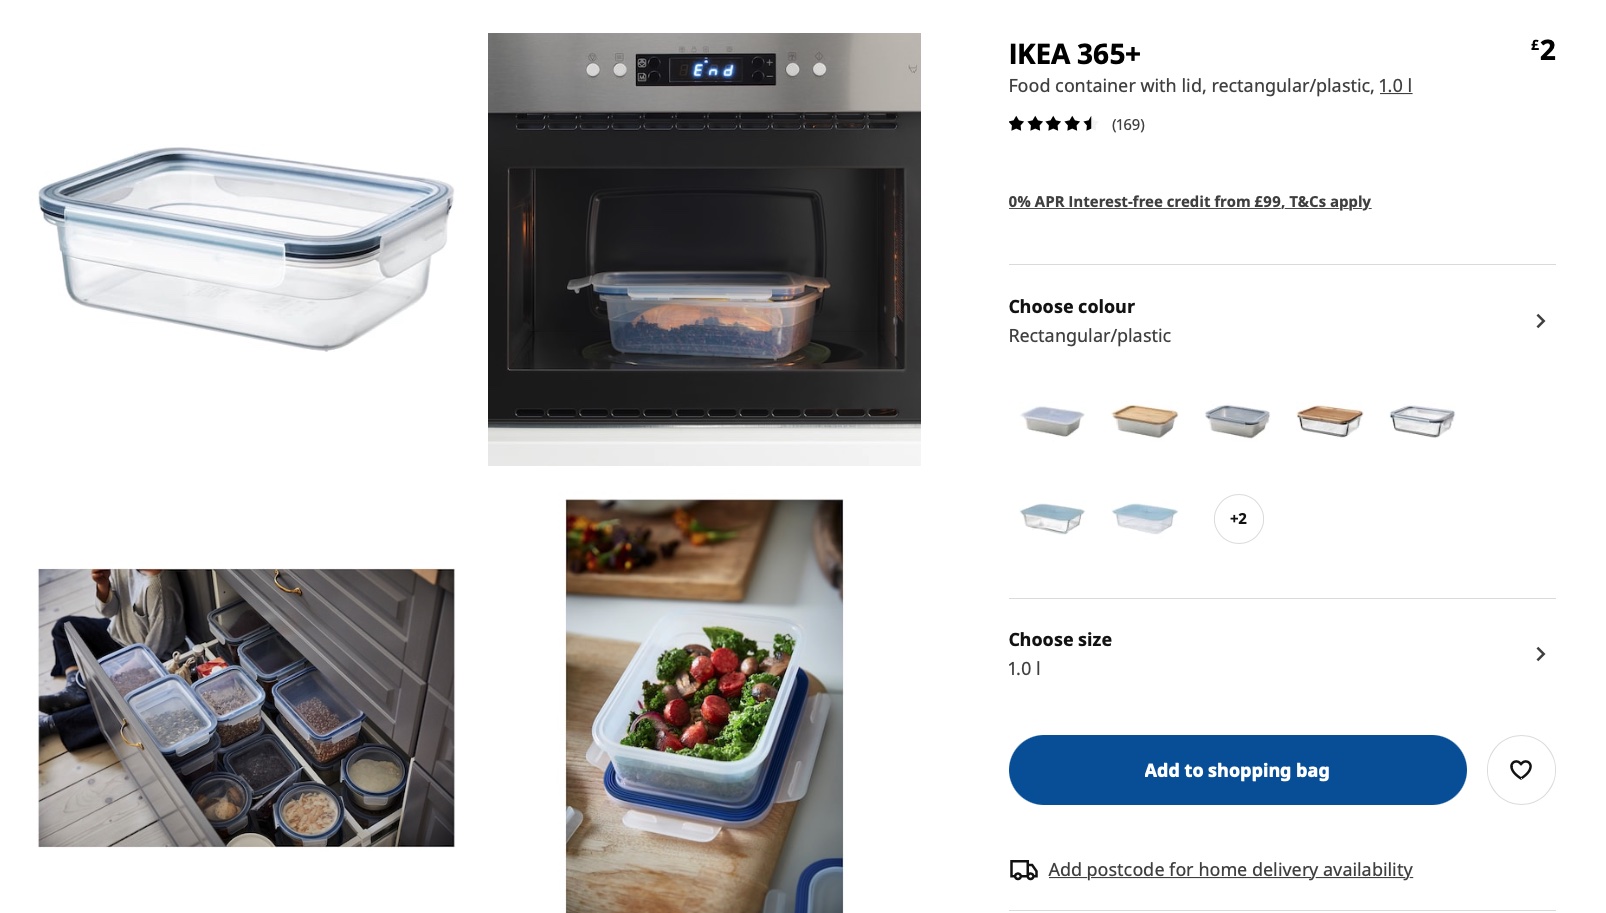
The units I chose are from the IKEA 365+ range, which are conveniently available in many different sizes and materials (plastic or glass). They are airtight food containers, which can be either transparent or opaque. An additional extra is the optional purchase of gaskets (4 for £3.50), which makes them even more ideal for this use case. I purchased a number of the 1 litre option, which measures 21cm in length, 15cm in width with a height of 7cm.
 |
 |
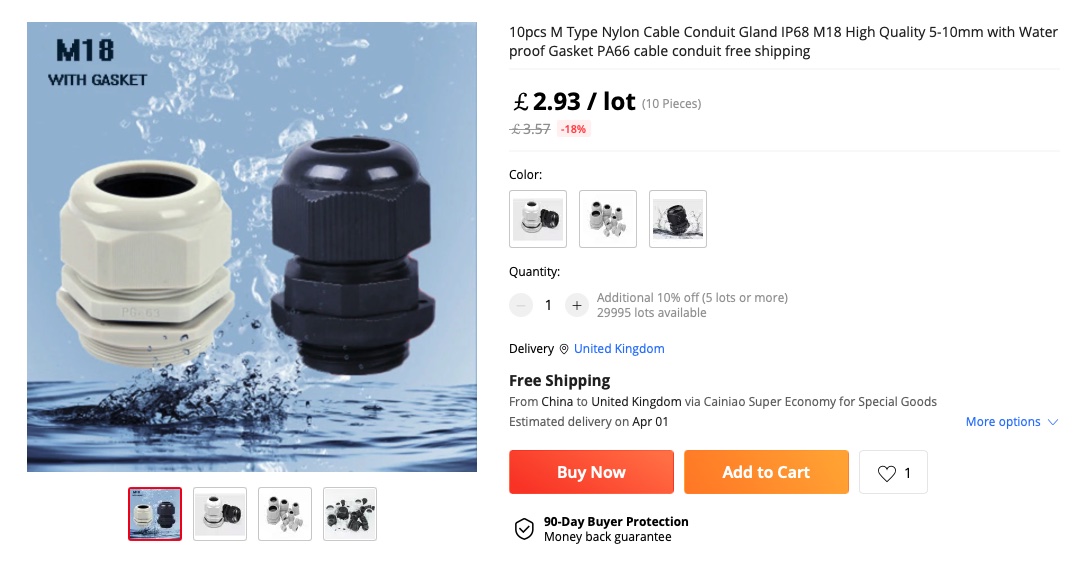
Another essential purchase I made are the IP6 rated Nylon Cable Conduit Gland, shown in the image on the left, above. These are absolutely essential, as condensation will likely ruin any enclosed electronics without them. I had to improvise, by using an 18mm glass cutter to drill a hole in the lunch box, which turned out well. The glands can be used to pass power supply and antenna cabling to the sensor node, as well as attach waterproof environmental sensors to the outside of the enclosure.
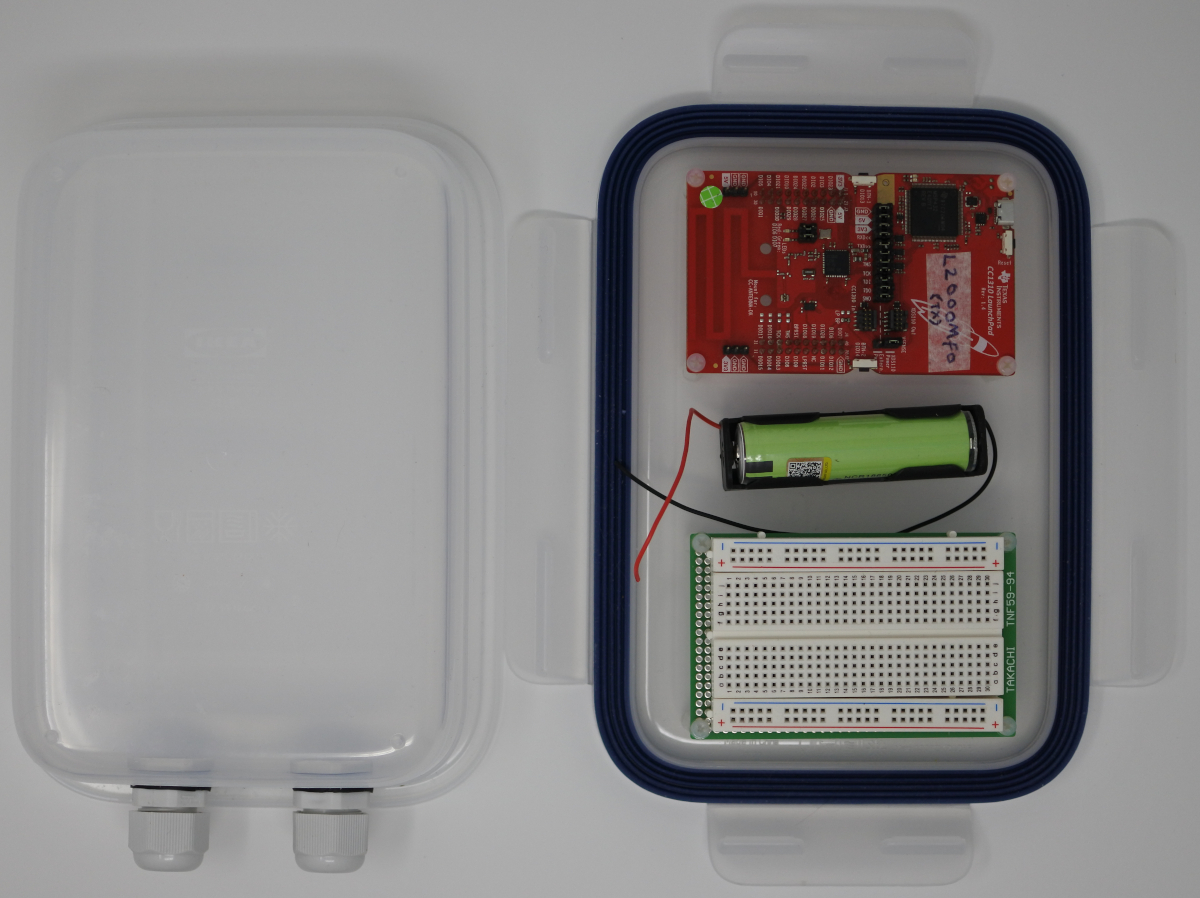
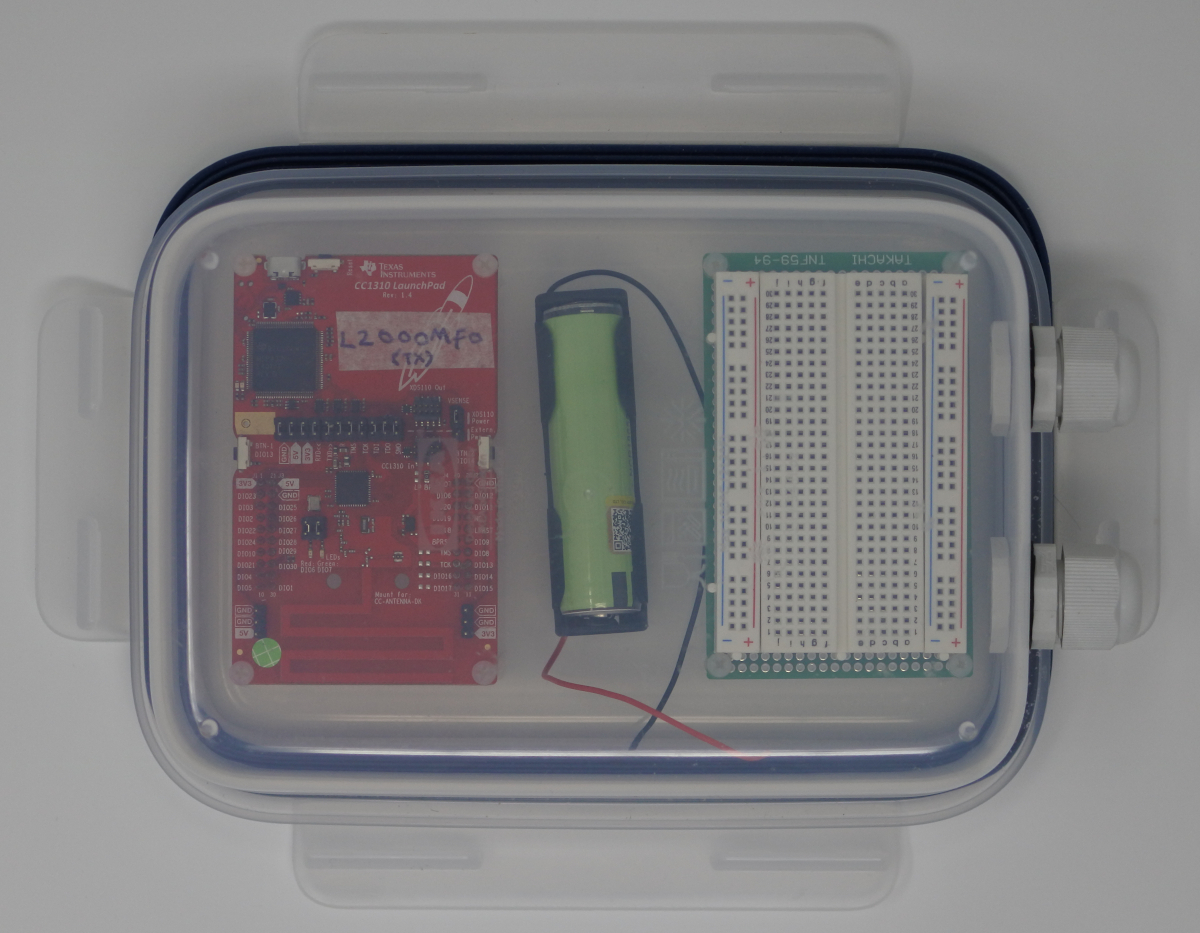
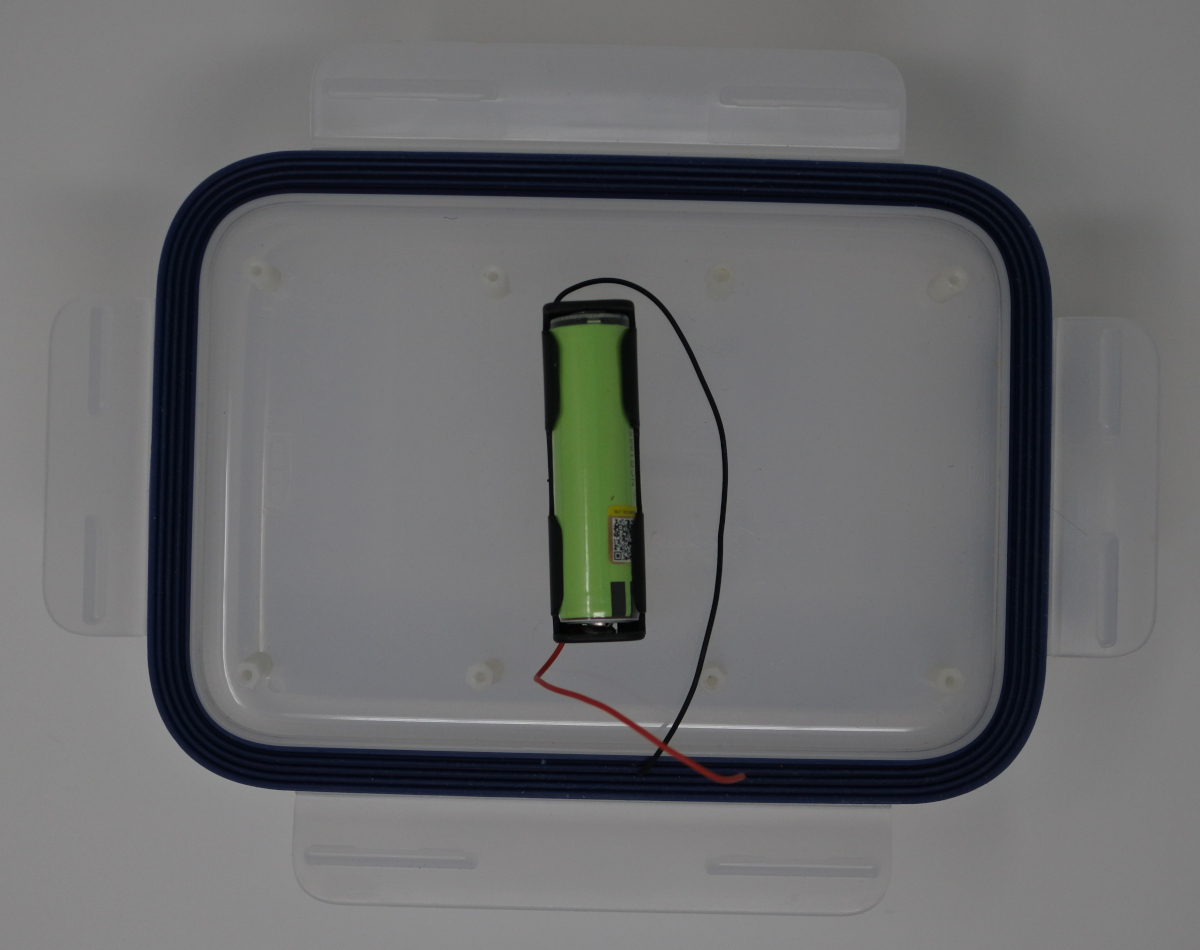
A converted IKEA 365+ 1.0L lunch box can be seen in the image, above. I used the lid of the box to mount the electronics. The conduit glands have been mounted on the base, although I made a mistake in mounting them too near to the point where the lid latches onto the base. I'll have to remember to change this in the next revision of the design. The reason why I chose to mount the electronics on the lid and not the base is to provide easy access to the electronics when not enclosed; typically, in the workshop or on the lab bench.
 |
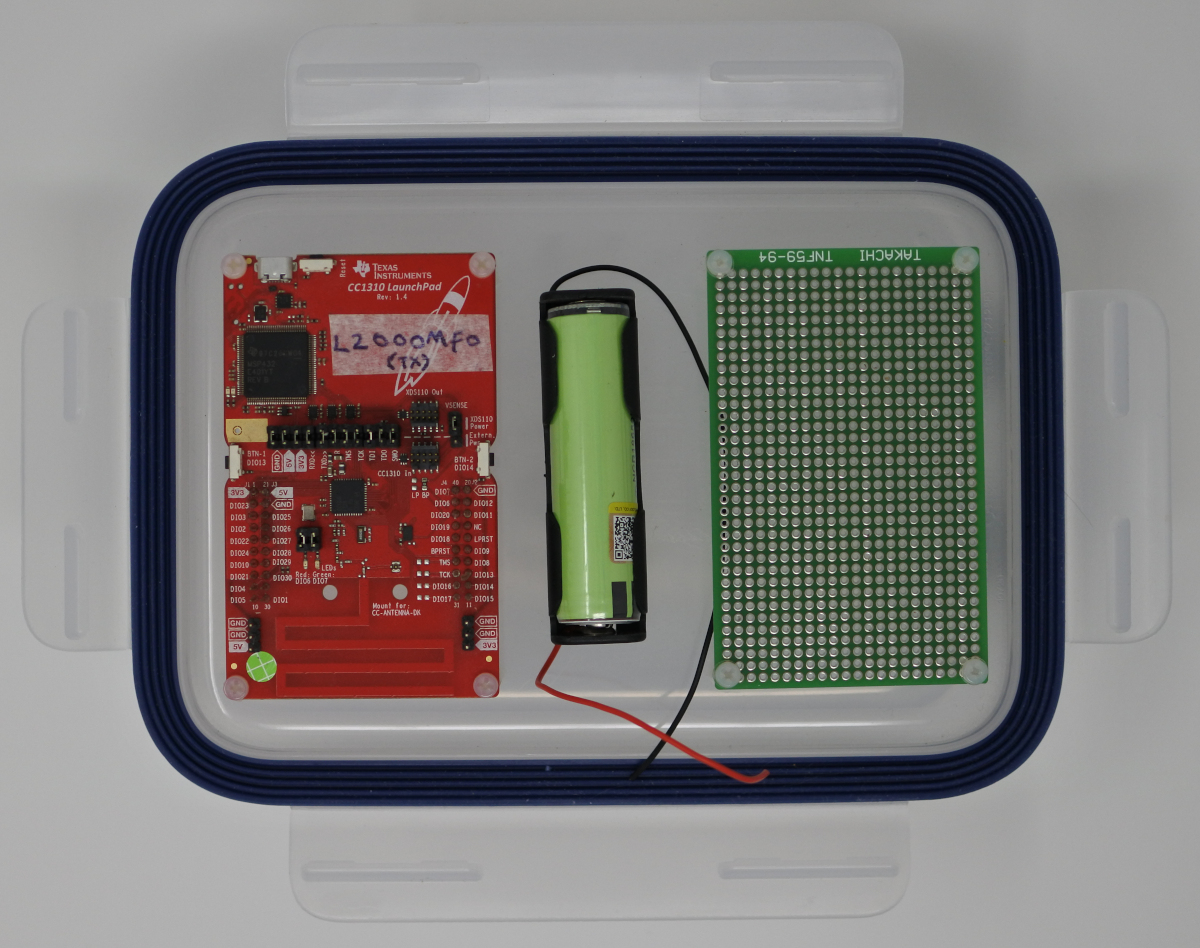 |
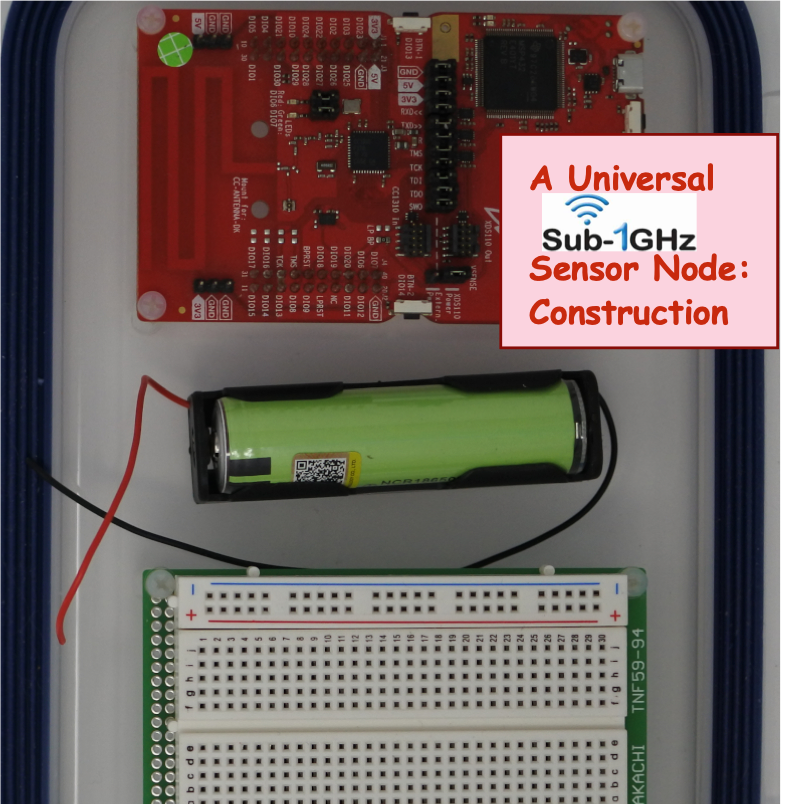
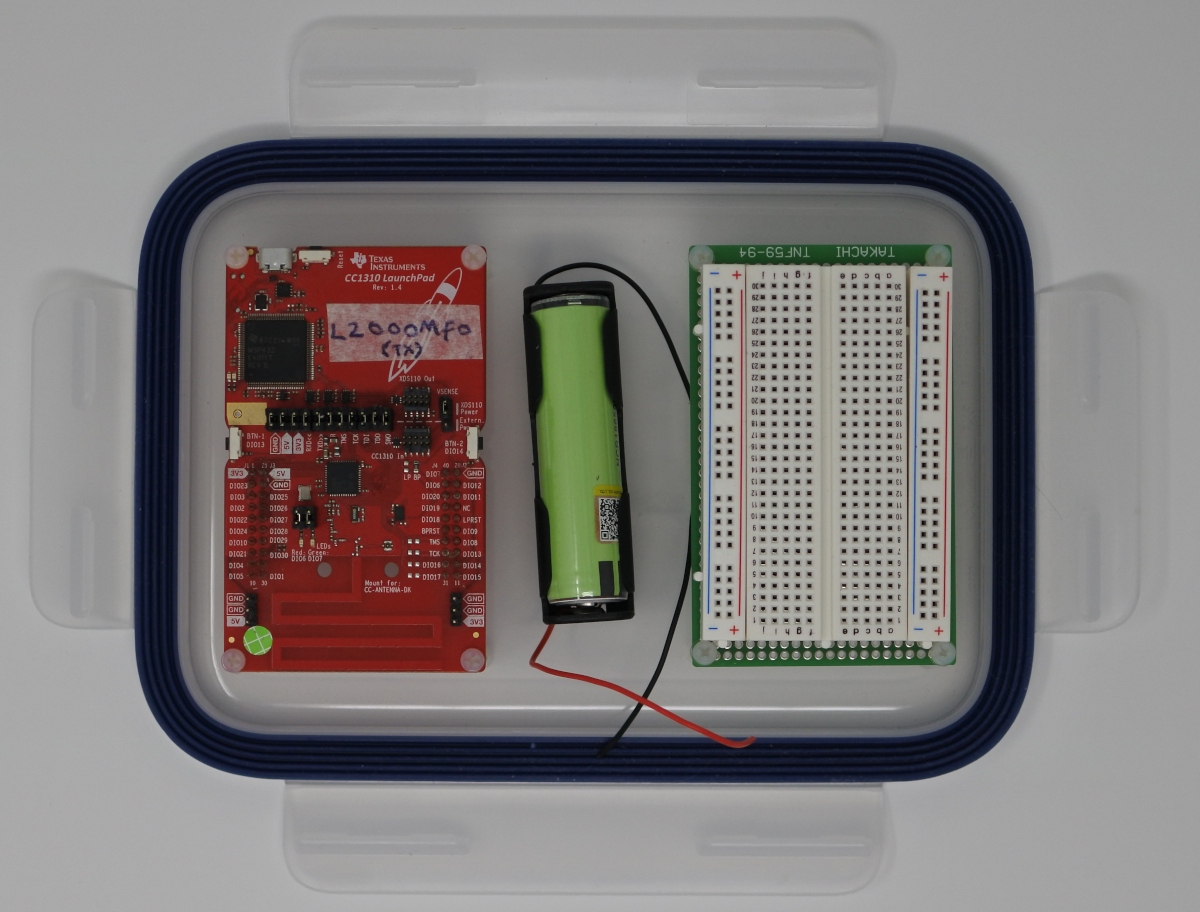
The image on the left, above, shows the CC1310 Launchpad, a single 18650 Lithium Ion battery (3.7V) and a 400 tie-points breadboard. This options allows small prototype boards to be quickly breadboarded and attached to the LaunchPad transmitter with jumper wires. However, as can be seen in the image on the right, above, I mounted the breadboard onto a prototyping PCB, allowing its removal, in case a more permanent or robust soldered solution is required. I drilled four mounted holes into the PCB to match the mounting dimensions of the Launchpad. This allows the additional option of removing the PCB and mounting two Launchpads side-by-side, if required.
 |
I used a combination of hex nylon standoffs, screws and nuts to mount the electronics to the lid. The standoffs are attached to the lid, by inserting M3 screws into drilled 3mm holes. I bought two sets of 200Pcs/set M2 M2.5 M3 and M4 White Hex Nylon Standoff Spacers Screws Nuts from Ali Express for £2.70 each plus postage. A bargain given the amount they cost locally on Ebay or Amazon. The battery is mounted with a single M3 screw and nut, which is a bit fragile, but means that I do not have to drill holes into the battery holder. However, I could reverse this decision and drill additional mounted points into the holder, if required.
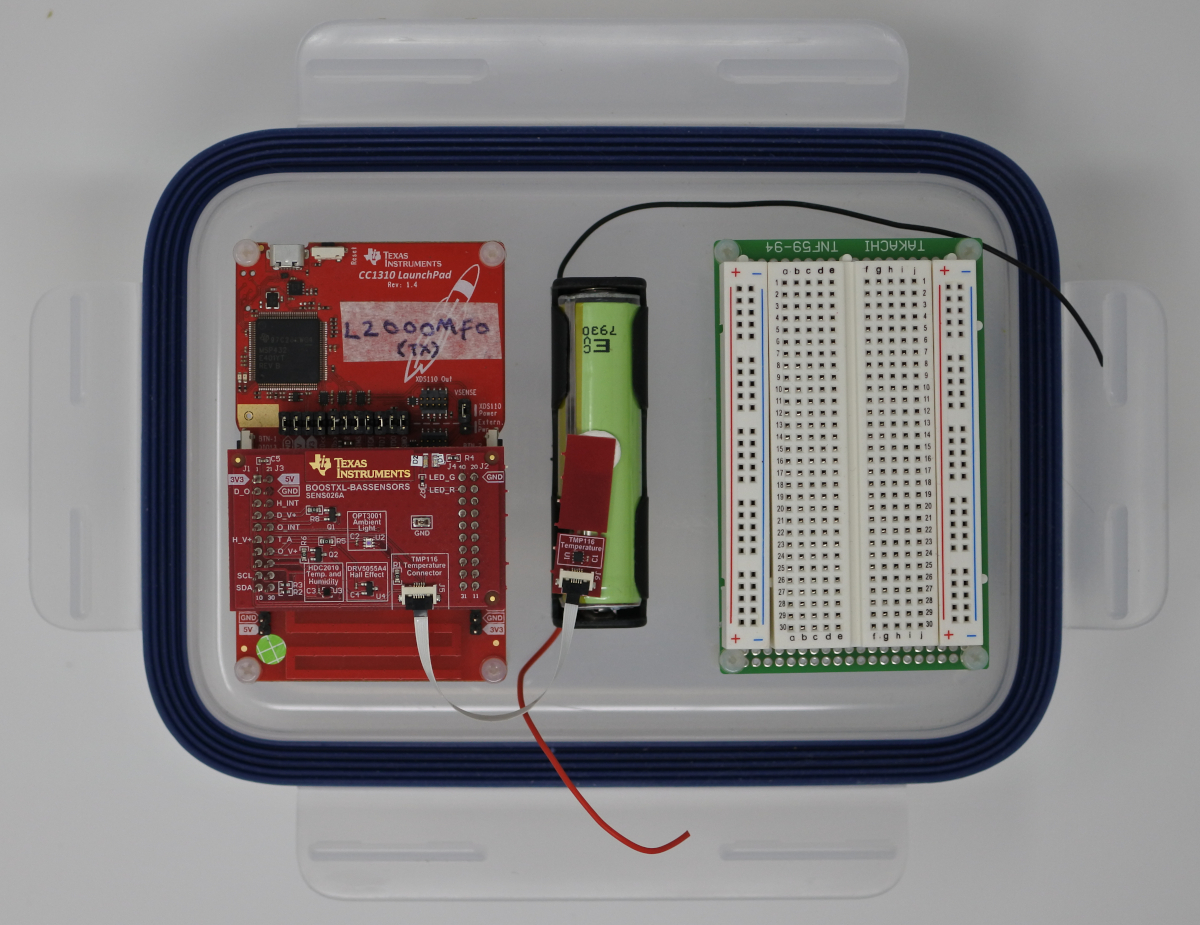
Well that's about it. I'll be using popular sensor boards with the Launchpad Sub-1 GHz radio, like the GY-BME280 temperature, humidity and pressure board or the DHT22/AM2302 Digital Temperature and Humidity board. Although Texas Instruments provide the excellent BOOSTXL-BASSENSORS BoosterPack plug-in module that adds temperature (TMP116), temperature and humidity (HDC2010), ambient light (OPT3001) , and hall-effect (DRV5055) sensors to the CC1310 Lanuchpad, as can be seen in the image, above.