Introduction
Last night I attempted to demonstrate my beginners night-time photography skills, along the Brighton seafront. It was a complete disaster; I didn't have a clue what I was doing. It took me a while just to work out that ideally the camera should be set in shutter priority mode, rather than aperture priority mode.
Shutter Priority Mode
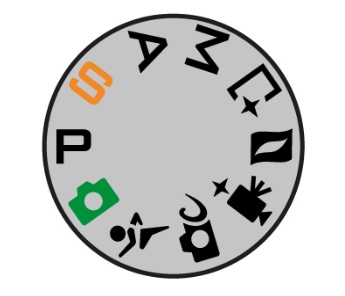
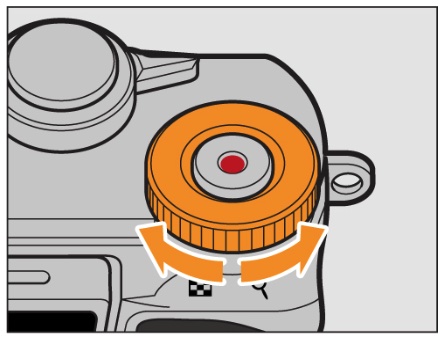
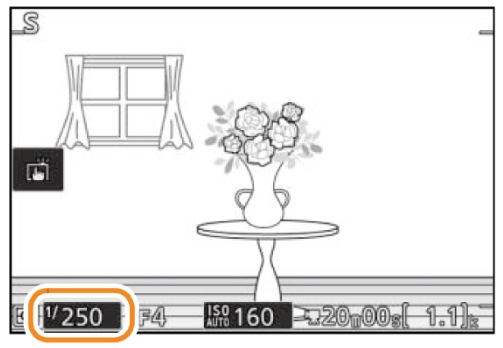
At the beginning of the shoot what I should have done is set the Nikon 1 J5 to a slow shutter speed (experimentally 5s, 10s). This is done by setting the mode dial to S for shutter priority mode, in order to control the length of time the shutter is open. Slowing the shutter down increases the amount of light that enters the camera, equating to a longer exposure and ultimately a brighter night-time photo.
| 01 Rotate the mode dial to S | 02 Choosing a Shutter Speed | Display shows the shutter speed |
 |
 |
 |
| Taken from the Nikon 1 J5 User Manual | ||
Another thing I should have done is dial the ISO down to its lowest possible setting of 100, avoiding digital noise or the image looking graining. Lastly, I could have used a tripod and remote control (or the camera's self-timer) to avoid hand-shake, due to the longer exposure times.
 |
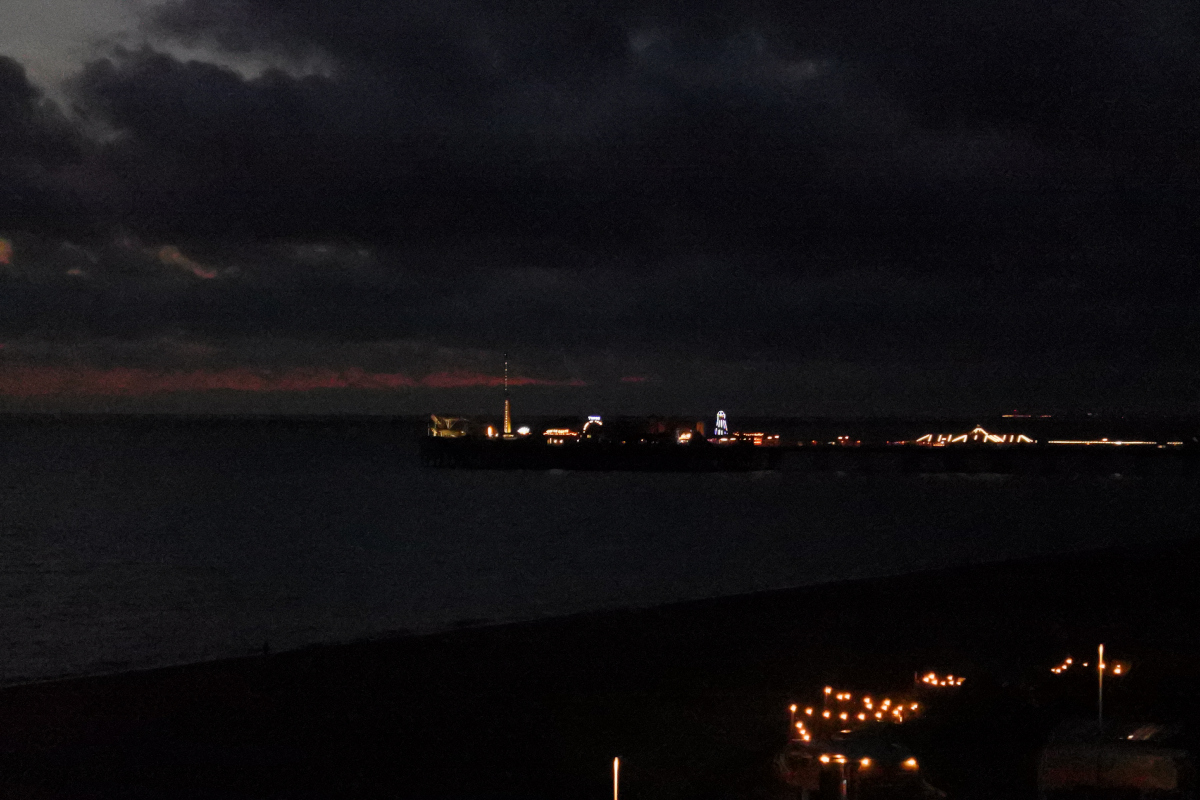 |
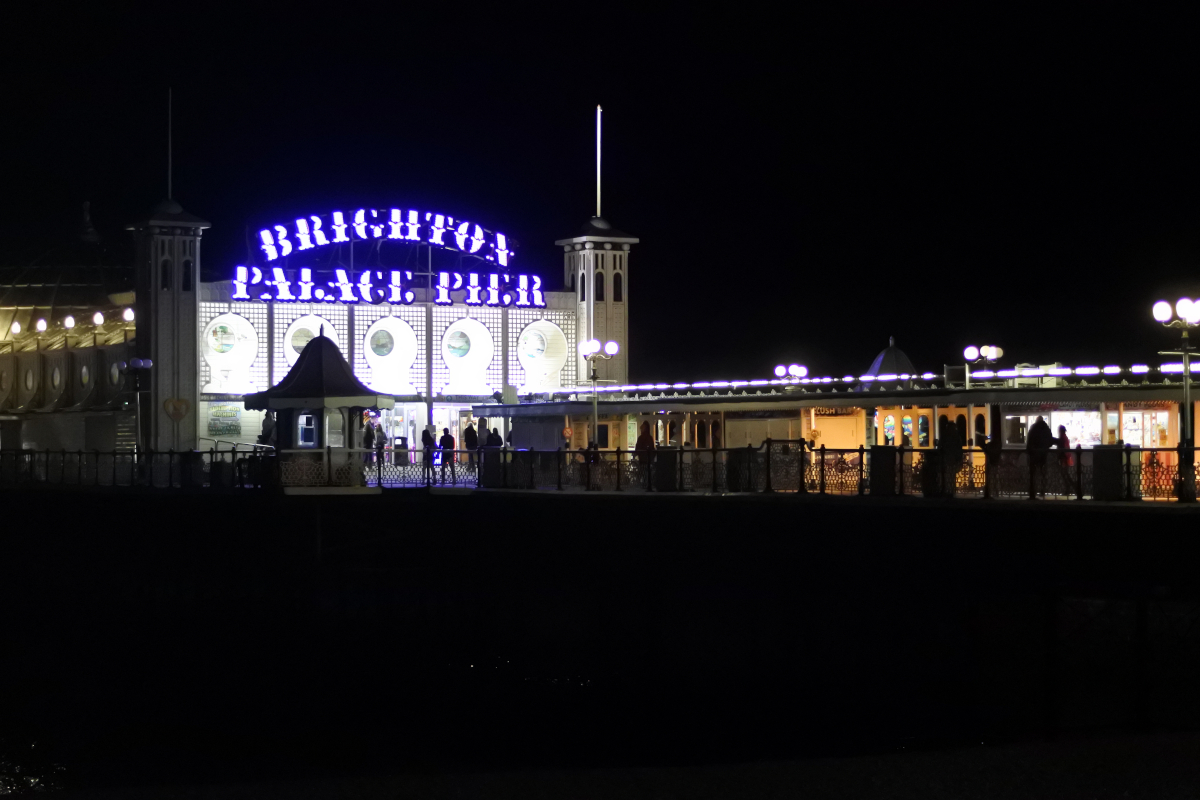
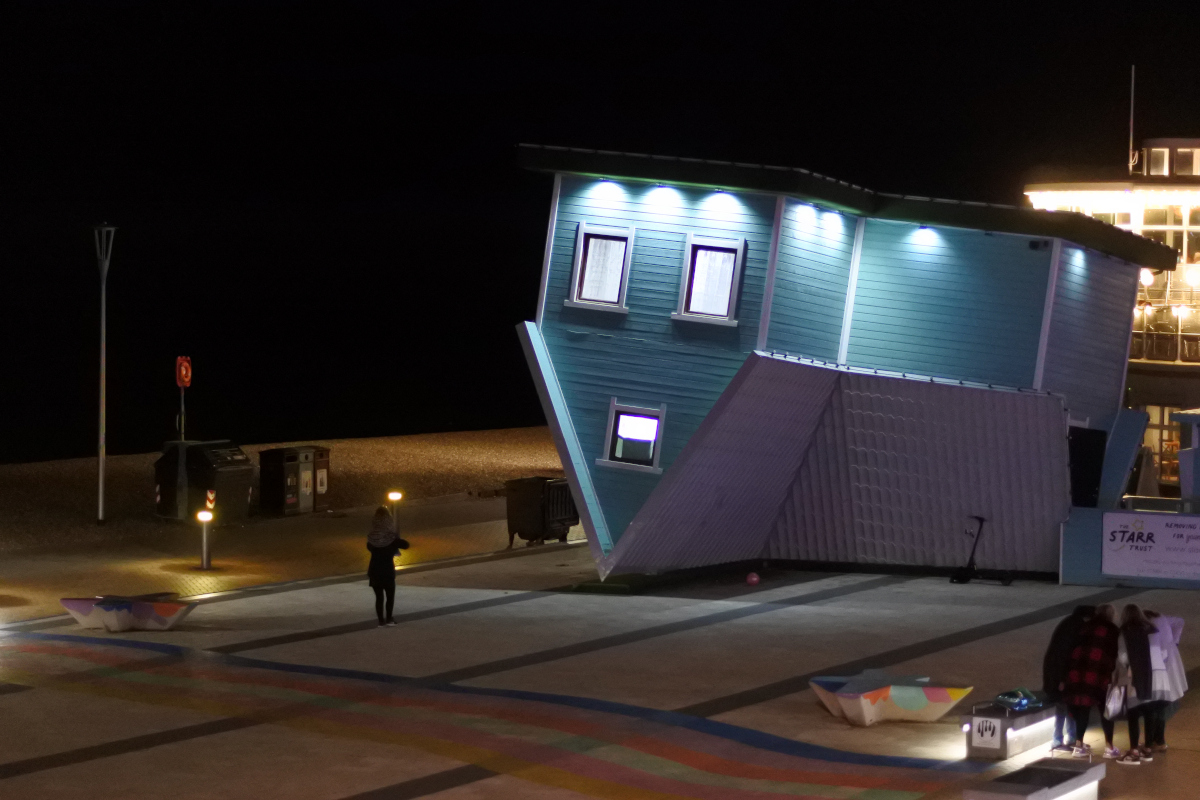
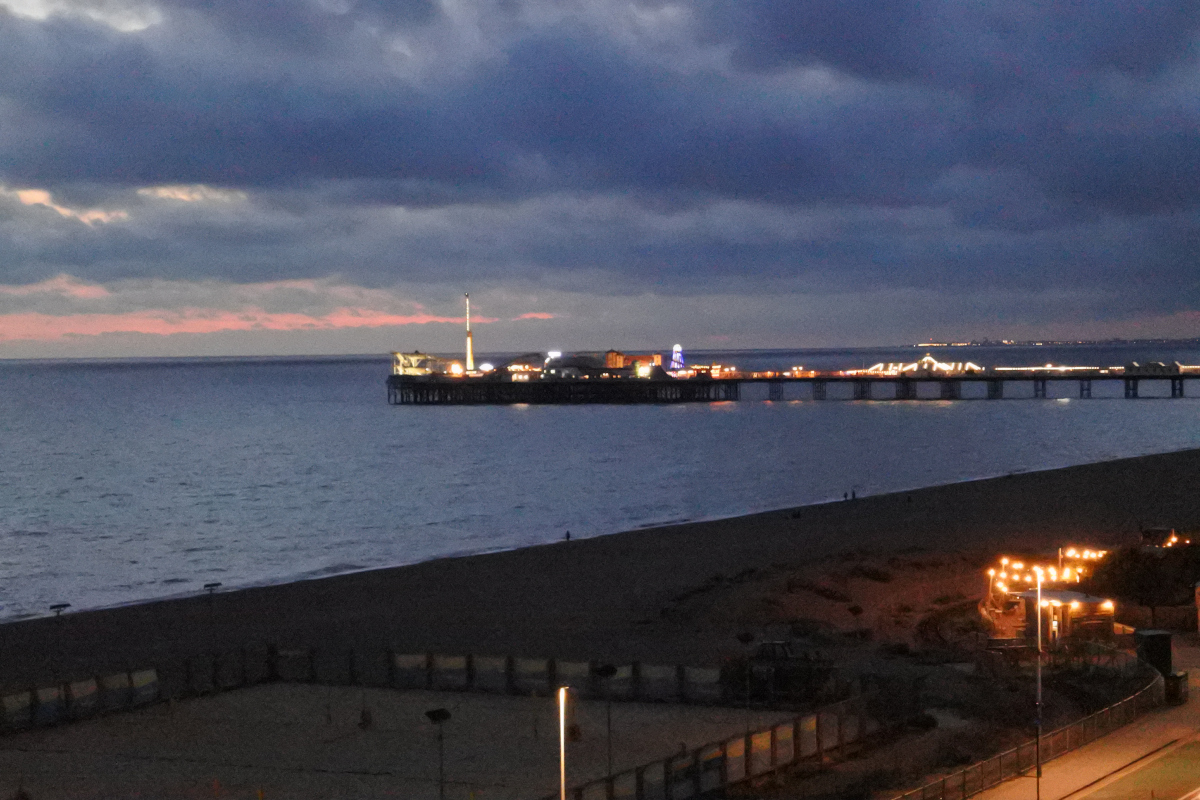
The two photographs, above, sum-up my night, as I struggled with the aperture and shutter priority modes. In this set of photos it looks like I was playing around with the shutter speed; The image on the left has a higher exposure compared to the image on the right, indicating a slower shutter speed. Neither of them is very good. However, with my new found knowledge I can't wait to go back and try again.
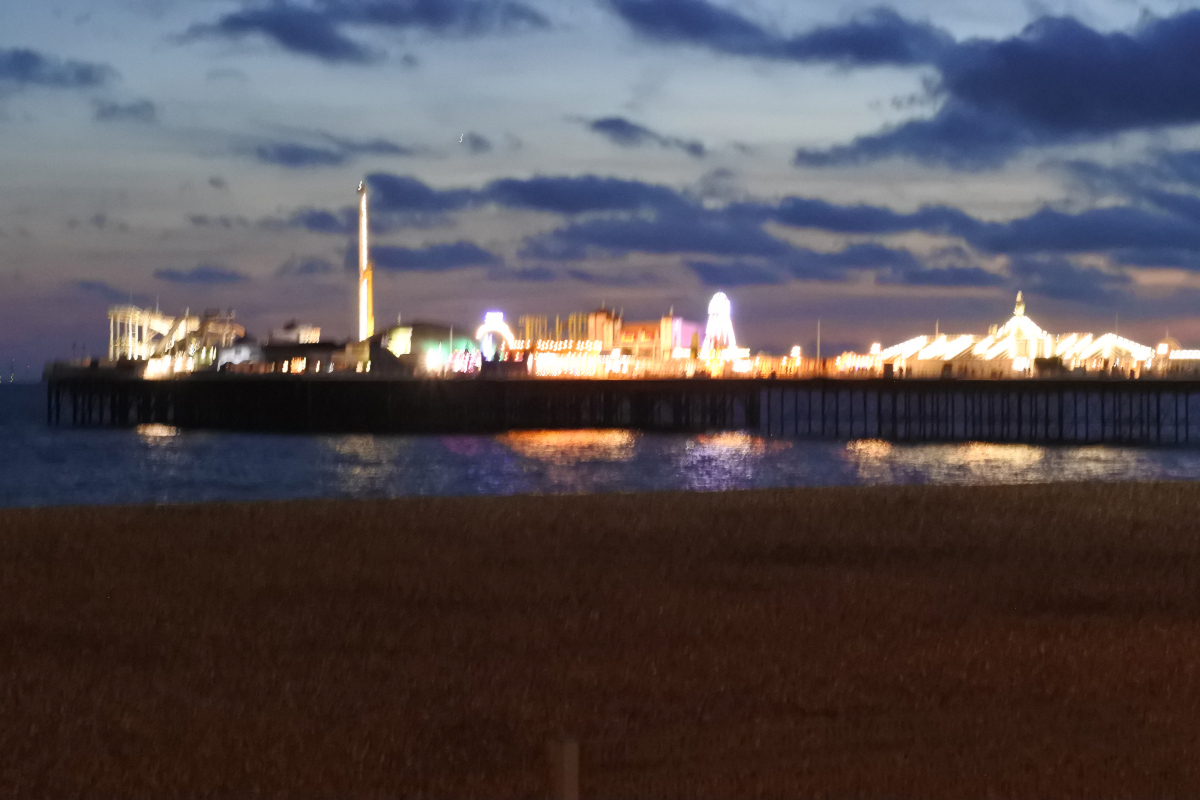
This last one, above, is just downright embarrassing. It was taken during my first nighttime photography shoot and has been only added here for completeness! This is not an out of focus error, rather it is more a result of hand holding the camera, while setting the camera's shutter on a long exposure time. In hindsight it would have been better to use a stabiliser, like a tripod. In a future article in the DSP section I will apply a Blind Spatially Varying Restoration filter to see if I can recover the original image.
Conclusion
Further investigation into night-time photography has revealed that a combination of the items listed, below, help tremendously in producing photographs, where the colours do not look tired and was washed-out, like in the one, below.
- Tripod - To avoid camera shake.
- Select Shutter Priority - As discussed above.
- ISO - Keep it low, to avoid a grainy image.
- Slow shutter speed - Experimentally about 5s, 10s or more.
- Use a remote control or self-timer.